Loops Lab
In this lab, we will learn how to make the computer do the same instruction over and over.
Start by opening a Terminal window and navigating to
~/Desktop/making_with_code/pedprog/unit00/lab03. If you don’t have a lab03 directory,
run mwc update.
👾 💬
Once you have reached thelab03directory, don’t forget to runpoetry shell.
How to loop
Introduction
In Python, when you want to run the same code multiple times, we use loops. If you have used Scratch before, you have seen loops before:
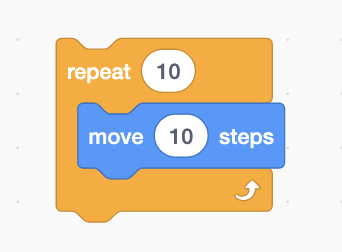
Scratch loop
How does a loop work in python? Let’s see.
💻
Open loops_intro.py in atom.
|
|
Calculations
💻 Run your program and see what gets output.Line 5 creates a loop. You should say for i in range(10) the same way you would say “for each child in the classroom…”
or “for each coin in my pocket…” In all three cases, the sentence is unfinished; you need to say what should happen for each
i or each child or each coin.
Whatever is in the indented block (lines 6 and 7) is what gets repeated. This loop runs 10 times.
i is a variable whose value changes each time the loop runs.
💻 Edit the code to make the loop run a different number of times Maybe 5 or 14. Check that it works.
Squaring Numbers
💻 Using a loop, print the square of numbers 0-12.
Put your code after line 9, # [PART B: SQUARING NUMBERS].
👾 💬 FYI: Math in Python
Python understands mathematical expressions. For example,
print(1+1)Will output,
2And,
print(10/2)Will output,
5It also follow the convention of order of operations
(3*2)+(5+5)Will output,
16
Your loop output should look like this:
0
1
4
9
16
25
36
49
64
81
100
121
👾 💬 FYI: Commenting out code
If you don’t want code to be executed when you run a program, you can comment it out by placing
#at the beginning of the line.If you don’t wan’t to keep seeing the results from ‘Part A’, just comment out lines 4-7.
Looping a Square
Take a look at the code we’ve been using to draw a square:
forward(100)
right(90)
forward(100)
right(90)
forward(100)
right(90)
forward(100)
right(90)
Pretty repetitive, right?
💻 Under 'PART C: LOOPING A SQUARE', use a loop to draw a square to avoid repeating the same code over and over again.✅ CHECKPOINT:
Answer the following check-in questions in your notebook before moving on:
- What is a loop?
- How do you put code into a loop?
- What changes over each iteration of a loop? What stays the same?
Geometric sequences
Loops are particularly useful when we need to do things over time. To see this, let’s write a program that uses a loop to list out the first 10 terms in any geometric sequence.
👾 💬 FYI: Sequences
Sequences are ordered collections of numbers that have a pattern to determine which numbers appear in the sequence. For example,
2, 4, 6, 8, 10,...is a sequence where each number 2 more than the previous number.Geometric sequences are sequences where there is a common ratio between each number in the sequence. For example,
1, 3, 9, 27, 81,...is a geometric sequence where each number is 3 times the number before it (making the common ratio 3). The first term will always be 1.
Here is an example of what the program will output when run:
$ python3 geometric_sequence.py
What should the ratio of the sequence be? 4
1
4
16
64
256
1024
4096
16384
65536
262144
Plan
To get started, think through the pseudo-code of what we want this program to do. Pseudocode is an outline of the program we’ll ultimately write where we don’t worry about using Python syntax.
✅ CHECKPOINT:
In your notebook write the psuedocode to list the first 10 numbers of any geometric sequence.
Here are some things to consider:
- You will use a loop to calculate each term in the sequence. What is the formula you will use at each step in the loop to calculate the term?
- You will need to know the previous term to calculate the current term. How will you keep track of this?
Code
💻 After you are confident your pseduocode has the correct logic, translate it into python code.
Create a new file for your geometric sequence program called geometric_sequence.py.
Fibonacci Sequence
Let’s explore another sequence, the Fibonacci sequence. This sequence has all kinds of interesting properties.
We’re going to write an algorithm to print out numbers in the Fibonnaci sequence.
The Fibbonacci sequence begins with two numbers, 0 and 1. Each subsequent number in the sequence is calucated by finding the sum of the two numbers that precede it.
Here is an example of what the program will output when run:
$ python3 fibonacci_sequence.py
How many numbers of the Fibonacci sequence would you like to output? 3
1
1
2
👀 Watch this video to learn about how the Fibonacci sequence appears in nature:
Plan
✅ CHECKPOINT:
In your notebook,
- Write the pseudocode for the Fibonacci sequence algorithm.
- Calculate the first 5 numbers of the Fibonacci sequence by exclusively following your pseudocode.
Be sure to check-in with Chris before moving on.
Code
💻 After you are confident your pseduocode has the correct logic, translate it into python code.
Create a new file for your fibonacci sequence program called fibonacci_sequence.py.
Extension
Visualizing Fibonacci
Let’s use the code you wrote to calculate Fibonacci sequences to make pattern drawings inspired by flowers and pinecones.

Fibonacci drawing
One spiral
First, use your Fibonacci code to draw a single spiral. You can do this by drawing a line for each number in the Fibonacci sequence and connecting the lines at a standard angle.
💻 Incorporate the Turtle drawing functionality into your
fibonacci_sequence.py file.
The Turtle should draw something like this:
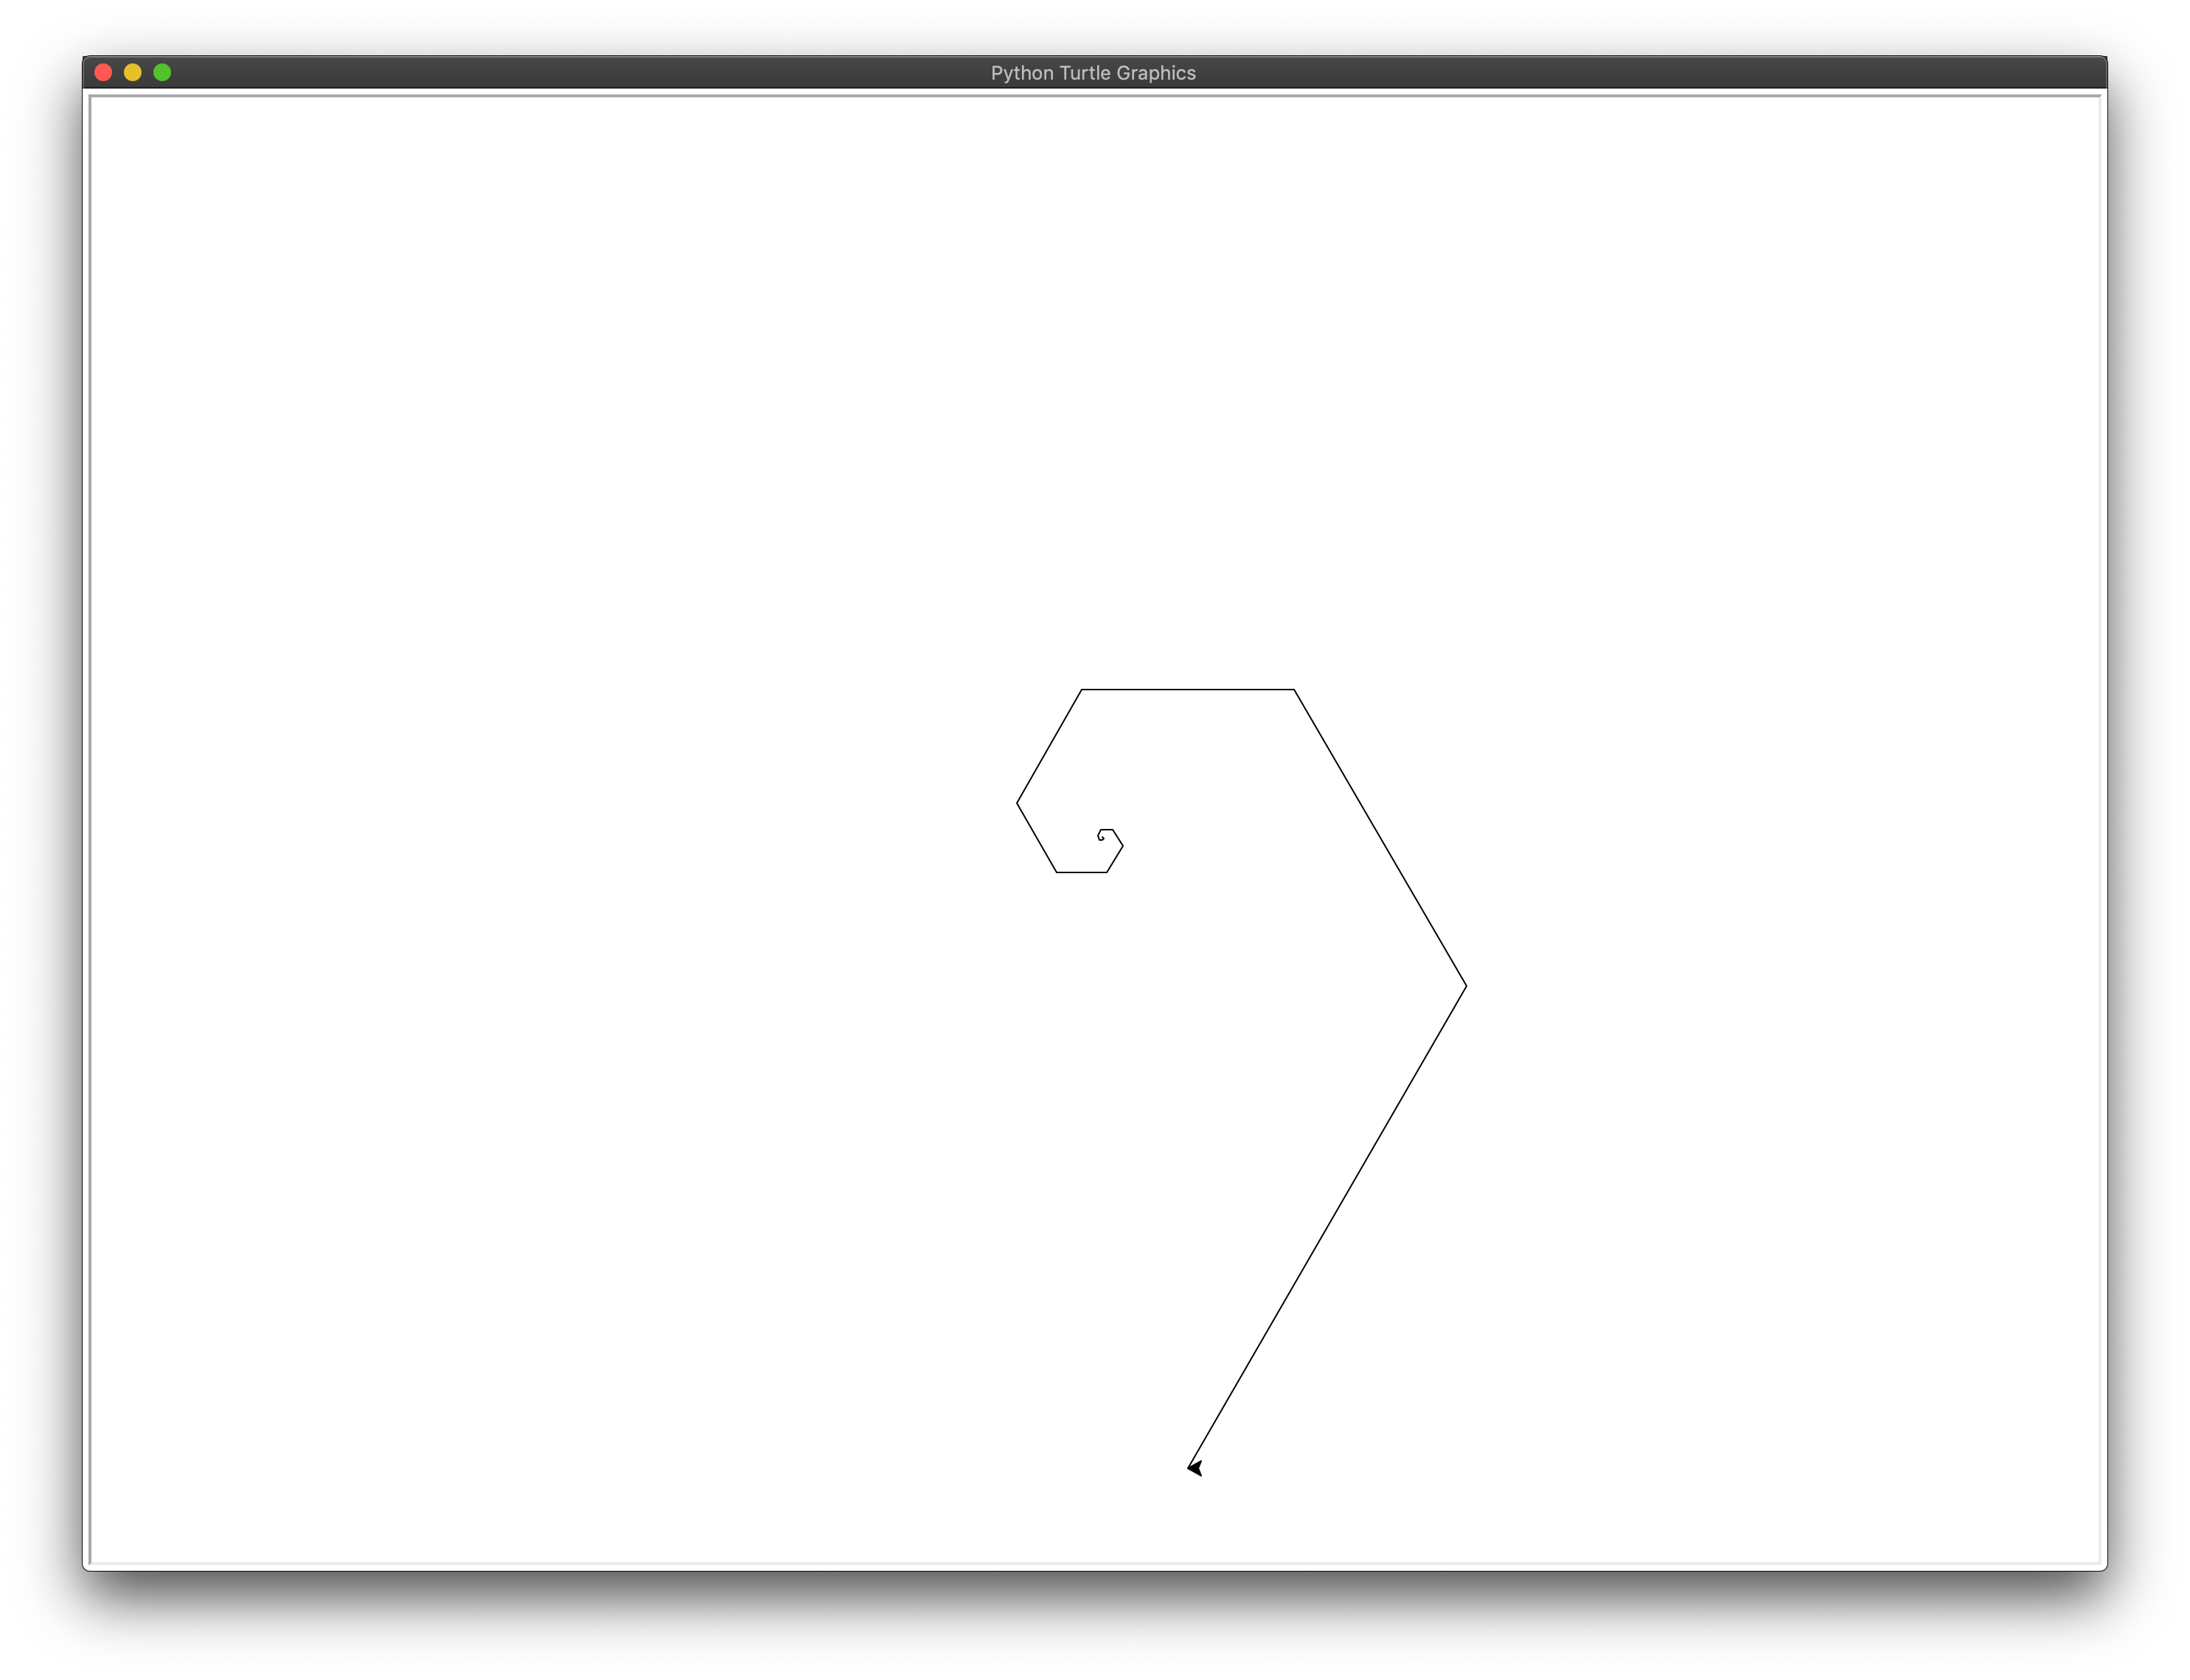
Fibonacci spiral
Multiple spirals
💻 Loop the drawing code to draw multiple spirals originating from the center. Now, the Turtle should draw something like this:
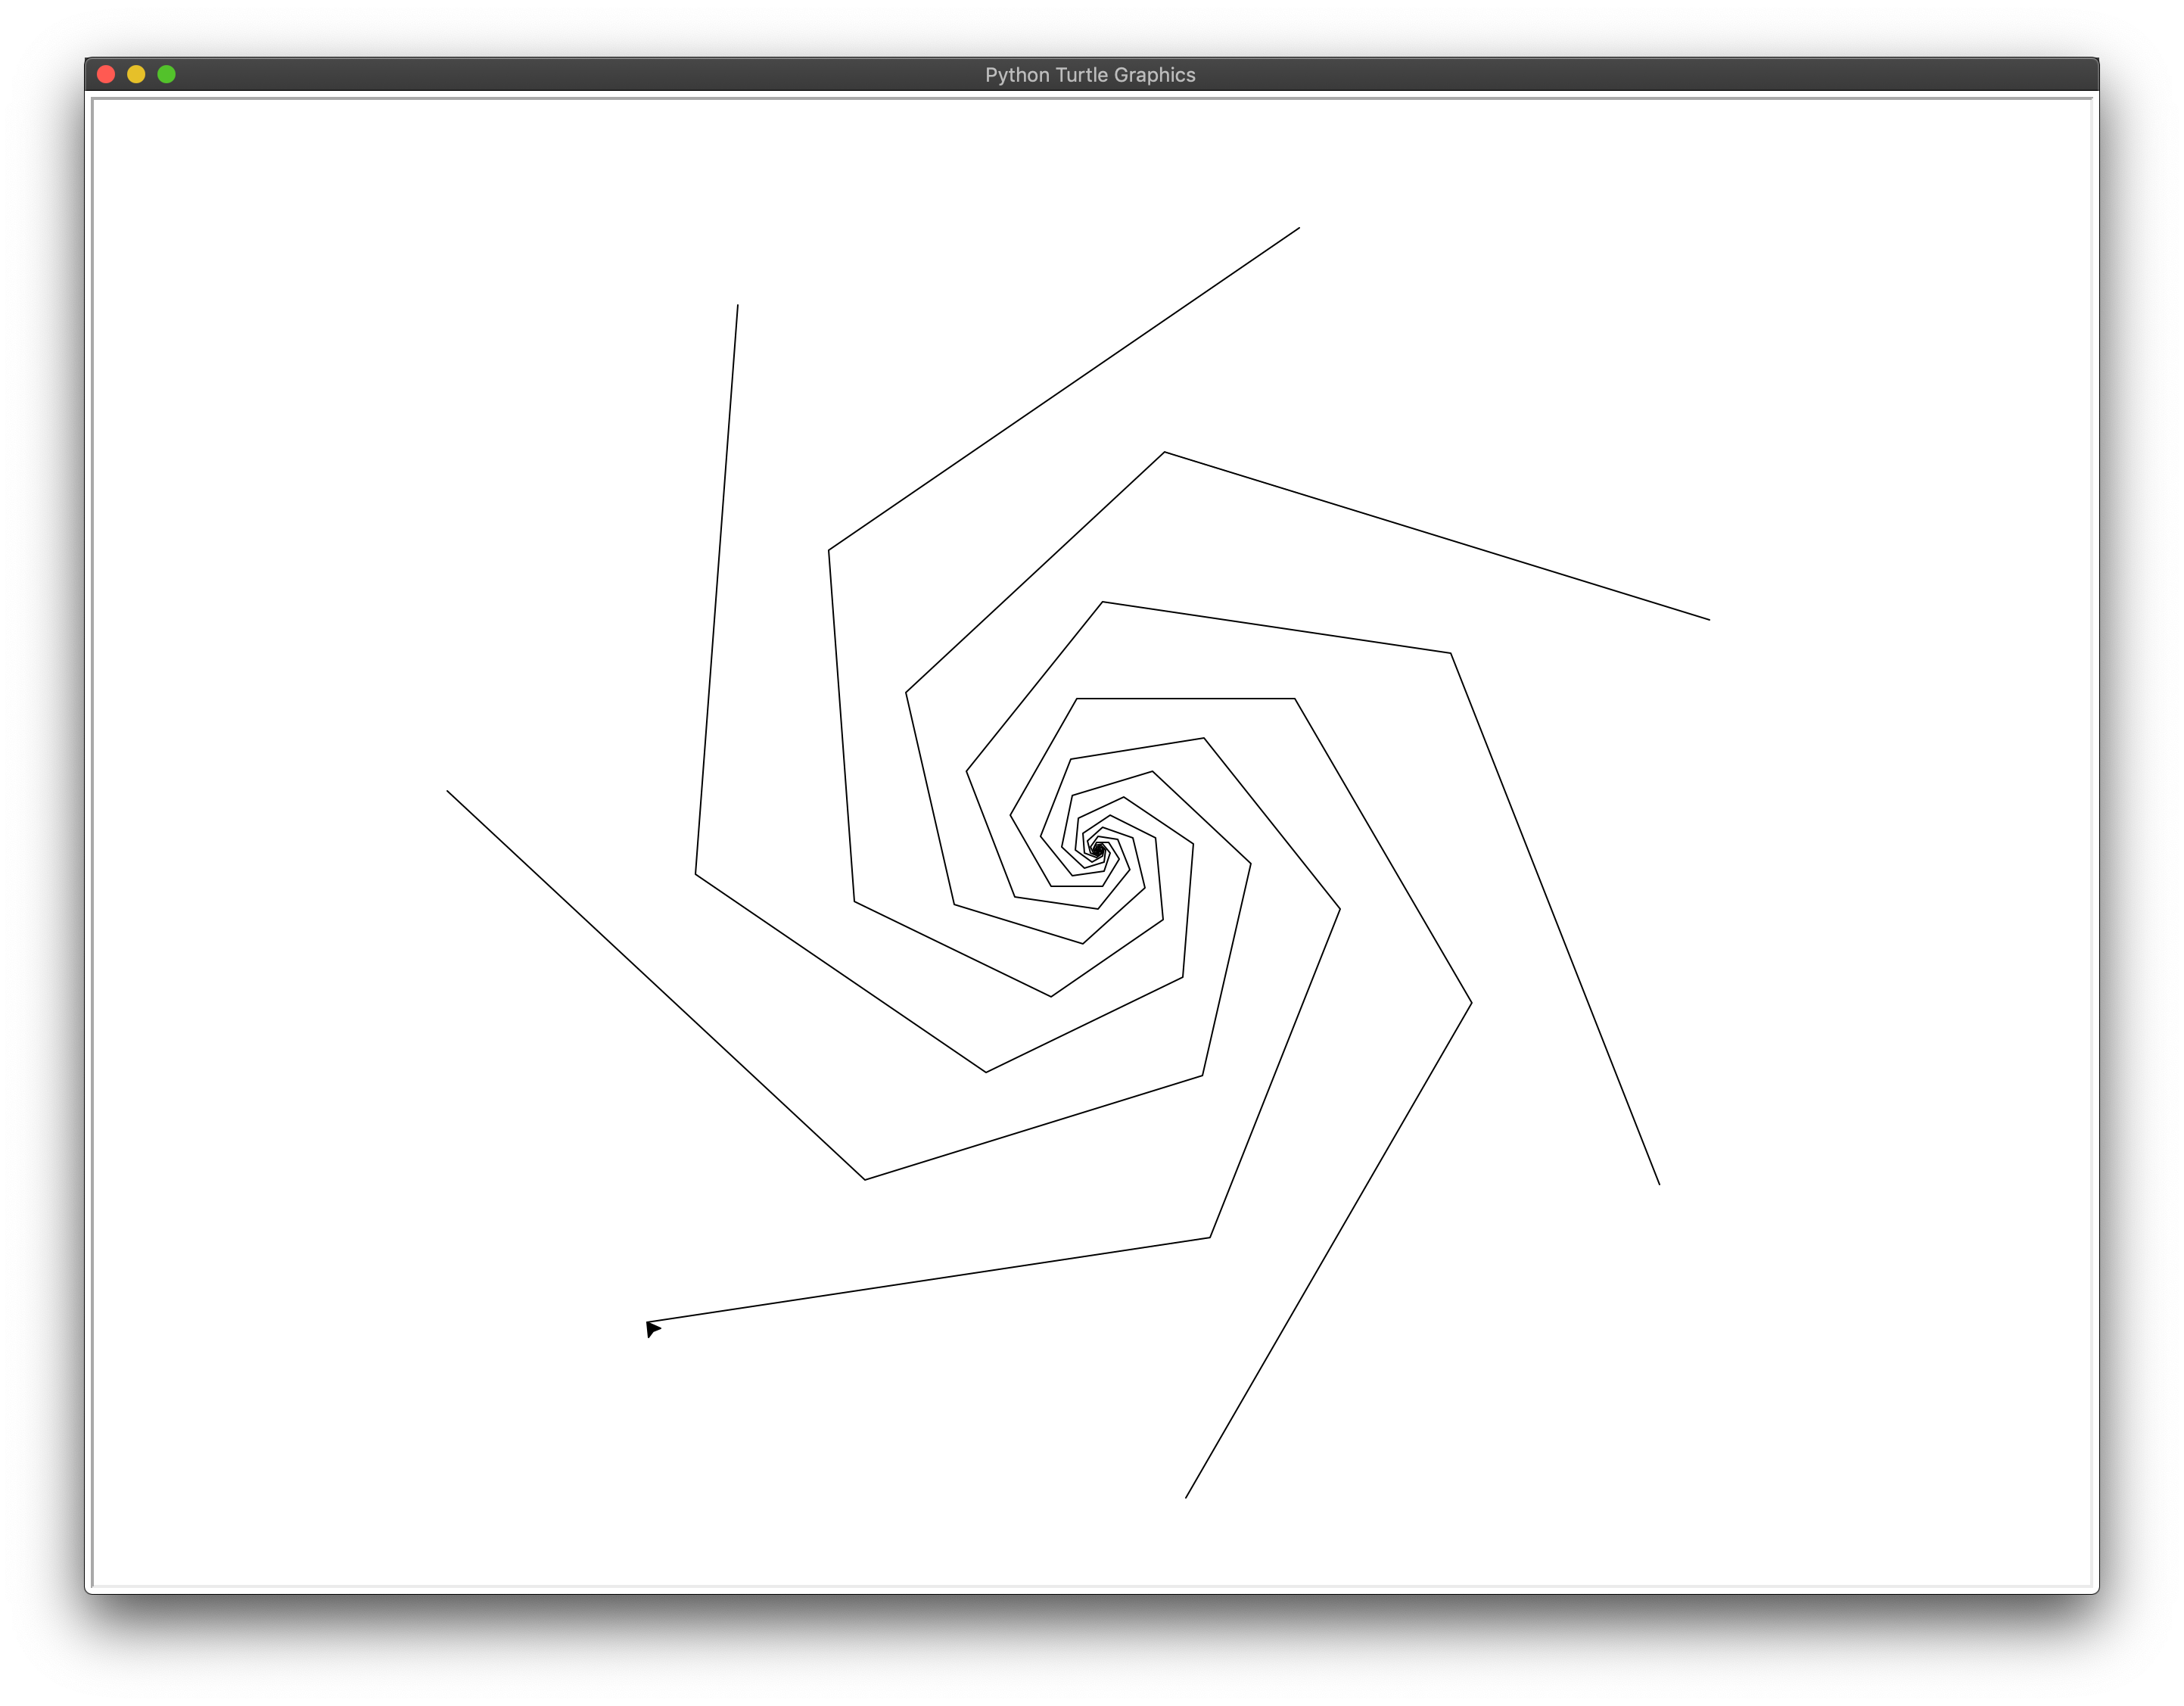
Many spirals
👾 💬 FYI: Moving the Turtle
You can return your turtle to the center of the window usinggoto(0, 0). You can also usepenup()andpendown()to keep the turtle from drawing as it returns to the center.
Clockwise and counterclockwise
To get a pinecone or flower effect like the video above described, you’ll need to spiral clockwise and counterclockwise.
💻 Repeat your spiral code, changing it to make your spirals turn in the other direction. Feel free to add colors and personalize the visualization however you would like!